You can create the image file of an existing VM and restore it any time. This is very helpful to restore the existing server incase of any blunder on VM.
Follow the below steps to create and restore image.
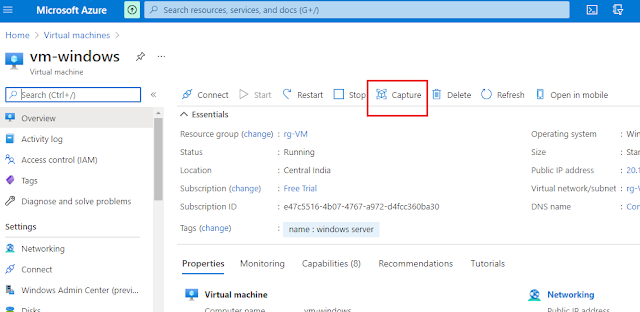
Open Virtual machine which you recently created.
Click on Capture link (highlighted below).
It will redirect you to the new page. In the below page provide details for image.
finally click on Review + Create. It will take some time to create image of existing VM. during creation of image your existing VM will be stopped.
You can find the image file in your resource group or in images resource.
Click on Create VM link on the top. It will redirect you to Create VM page. there you need to select the existing created image from image dropdown section and all other steps are same.
In this way you can replicate same server multiple time.
References: https://docs.microsoft.com/en-us/azure/


0 comments:
Post a Comment